Upload Documents
Once you have a dataset with a configured pipeline, you can upload documents and have them automatically processed into searchable, AI-queryable content.
This guide covers uploading via the web interface and via the SDK, monitoring processing status, and troubleshooting failed uploads.
Prerequisites
- An active data cluster with a dataset created. See Create a Dataset.
- Write access to your organization.
Supported File Types
The file types your dataset accepts depend on the pipeline preset configured during dataset creation:
| Pipeline Preset | Supported Files |
|---|---|
| General Purpose (PDF + OCR) | PDF, DOCX, images (PNG, JPG) |
| Scientific Articles (JATS XML) | JATS XML, MECA archives |
Most users should use the General Purpose preset, which handles the widest range of document formats through OCR-based extraction.
Upload via the Web Interface
Step 1: Navigate to Your Dataset
- Go to Clusters in the left sidebar.
- Click on the cluster that contains your dataset.
- Click on the dataset name to open its detail page.

Step 2: Upload Files
- Click the Upload button.
- Select one or more files from your computer, or drag and drop files into the upload area.
- The upload begins immediately. A progress indicator shows the status of each file.
Each uploaded file becomes an entry in the dataset. Entries track metadata, processing state, and file storage.
Step 3: Monitor Processing
If your dataset has auto-trigger enabled (the default), uploaded files are automatically sent to the processing pipeline. You can monitor progress from the dataset detail page:
- Uploaded — The file has been received and stored. Processing has not started yet.
- Processing — The pipeline is actively running (OCR, chunking, embedding, etc.).
- Processed — All pipeline stages completed successfully. The document is now searchable.
- Failed — One or more pipeline stages encountered an error.
Processing time depends on the document size, the pipeline configuration, and queue availability. A typical 20-page PDF completes processing in under a minute. Large documents or batches may take longer. If many processing requests are happening simultaneously across your cluster, jobs may queue and take additional time to start.
The platform supports webhooks that send notifications on entry status changes. This lets you react programmatically when processing completes, fails, or transitions to any other state — without polling the API. Configure webhooks in your dataset settings to receive real-time updates.
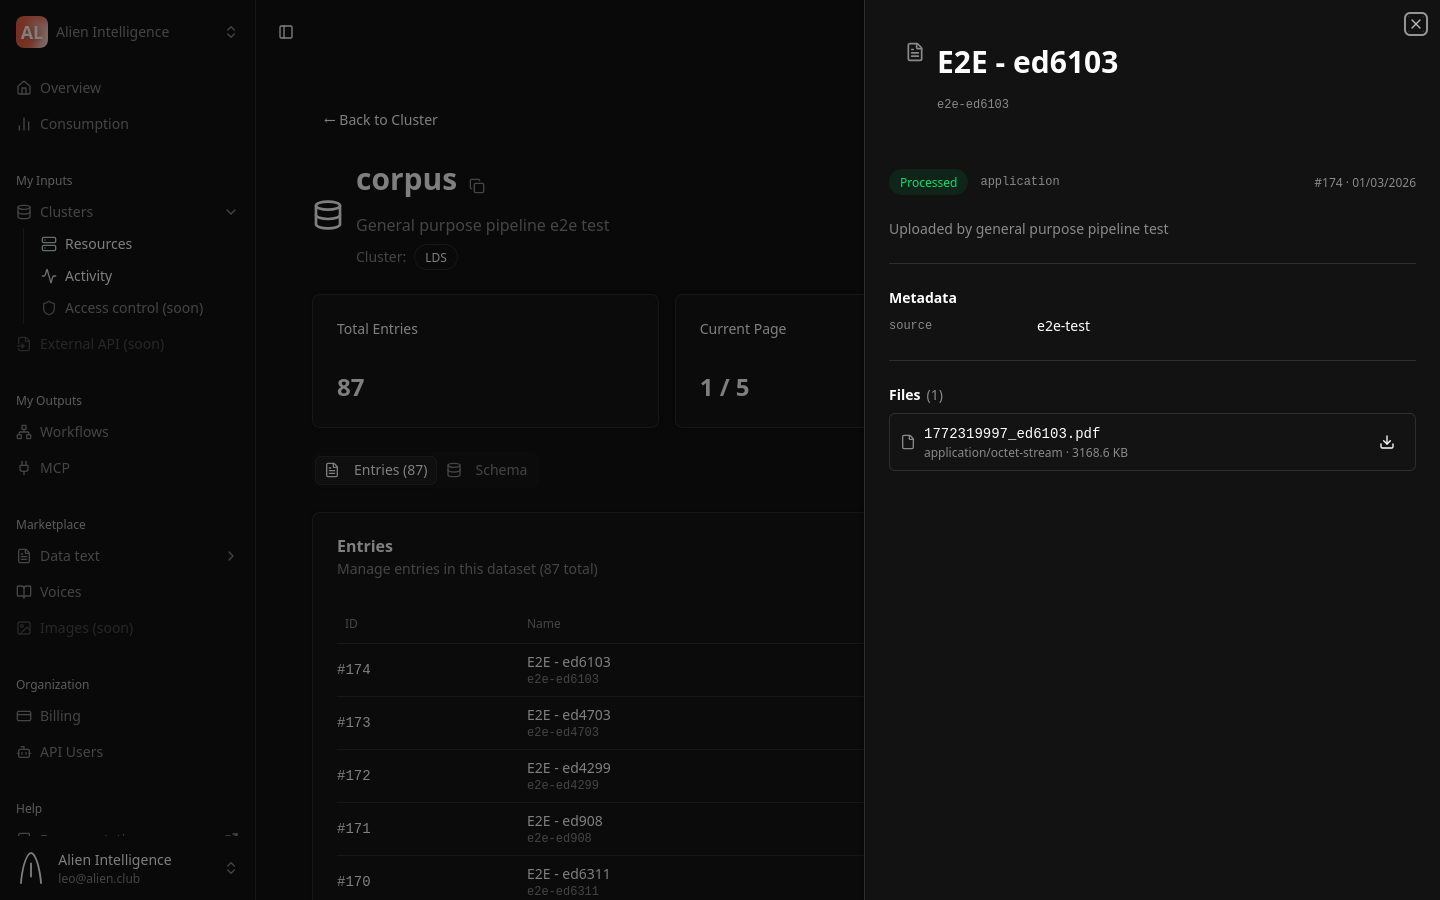
Step 4: View Processed Content
Once an entry reaches the Processed status:
- Click on the entry name to open its detail page.
- The Content tab shows the extracted text, structured as markdown with headings and paragraphs.
- The Files tab shows the original uploaded file and any extracted figures (images).
- The Metadata tab shows entry-level metadata fields defined by the dataset schema.
Upload via the SDK
For programmatic uploads, use the Python or TypeScript SDK. All SDK requests go through the platform backend proxy, which handles authentication and routes to the correct data cluster.
Entry creation and file upload are two separate API calls. First create the entry, then upload the file to it. The examples below show the correct two-step flow.
Python
from data_api_client import ApiClient, Configuration, EntriesApi
from data_api_client.models.entry_create_request import EntryCreateRequest

# Configure — requests go through the platform proxy
config = Configuration(
    host="https://api.alien.club/clusters/YOUR_CLUSTER_ID/proxy"
)

client = ApiClient(
    config,
    header_name="Authorization",
    header_value="Bearer oat_YOUR_API_TOKEN",
)

entries_api = EntriesApi(client)

# Step 1: Create the entry
request = EntryCreateRequest(
    dataset_id=YOUR_DATASET_ID,
    name="My Research Paper",
    slug="my-research-paper",
    description="Uploaded via SDK",
    metadata={},
)
response = entries_api.create_entry_api_v1_entries_post(request)
entry_id = response.entry.id
print(f"Created entry {entry_id}")

# Step 2: Upload the file to the entry
with open("paper.pdf", "rb") as f:
    file_bytes = f.read()

entries_api.upload_file_to_entry_api_v1_entries_entry_id_upload_post(
    entry_id=entry_id,
    file=("paper.pdf", file_bytes),
    file_type="original",
)
print(f"Uploaded file to entry {entry_id}")
TypeScript
import { Configuration, EntriesApi } from "@alien/data-api-client";

const config = new Configuration({
  basePath: "https://api.alien.club/clusters/YOUR_CLUSTER_ID/proxy",
  headers: {
    Authorization: "Bearer oat_YOUR_API_TOKEN",
  },
});

const entriesApi = new EntriesApi(config);

// Step 1: Create the entry
const response = await entriesApi.createEntryApiV1EntriesPost({
  datasetId: YOUR_DATASET_ID,
  name: "My Research Paper",
  slug: "my-research-paper",
  description: "Uploaded via SDK",
  metadata: {},
});
const entryId = response.entry.id;
console.log(`Created entry ${entryId}`);

// Step 2: Upload the file to the entry
const fileBuffer = fs.readFileSync("paper.pdf");
await entriesApi.uploadFileToEntryApiV1EntriesEntryIdUploadPost(
  entryId,
  new File([fileBuffer], "paper.pdf"),
  "original"
);
console.log(`Uploaded file to entry ${entryId}`);
For SDK installation and registry configuration, see the Install SDK guide.
Full Programmatic Workflow
This section shows the complete flow for programmatically creating a dataset, uploading documents, triggering pipelines, and validating results. This is based on the working reference implementation we provide to clients.
Step 1: Initialize the Client
import os
from data_api_client import (
    ApiClient, Configuration,
    DatasetsApi, EntriesApi, PipelinesApi, SearchApi, HealthApi,
)

# Configuration from environment variables
backend_url = os.environ["BACKEND_API_URL"]  # https://api.alien.club
cluster_id = os.environ["CLUSTER_ID"]
token = os.environ["BEARER_TOKEN"]           # oat_...

base_url = f"{backend_url}/clusters/{cluster_id}/proxy"

config = Configuration(host=base_url)
client = ApiClient(
    config,
    header_name="Authorization",
    header_value=f"Bearer {token}",
)

datasets_api = DatasetsApi(client)
entries_api = EntriesApi(client)
pipelines_api = PipelinesApi(client)
search_api = SearchApi(client)
health_api = HealthApi(client)
Step 2: Create a Dataset with Pipeline Configuration
from data_api_client.models.dataset_create_request import DatasetCreateRequest
from data_api_client.models.dataset_pipeline_config_input import DatasetPipelineConfigInput
from data_api_client.models.pipeline_step_config import PipelineStepConfig
from data_api_client.models.artifact_input_config import ArtifactInputConfig

# Create the dataset
dataset_request = DatasetCreateRequest(
    name="My Document Collection",
    slug="my-document-collection",
    description="Documents uploaded via SDK",
    dataset_type="text",
    schema_definition={
        "schema_id": "general_v1",
        "version": "v1",
        "description": "General purpose schema",
        "original": {
            "required_files": ["*.pdf", "*.docx"],
            "optional_files": [],
            "metadata_schema": {
                "type": "object",
                "properties": {"source": {"type": "string"}},
                "required": [],
            },
        },
        "processed": {
            "content_schema": {
                "type": "object",
                "properties": {
                    "text": {"type": "string"},
                    "chunks": {"type": "array"},
                },
            },
            "required_files": [],
            "optional_files": ["*.png", "*.jpg"],
        },
        "processing": {"intermediate_files": [], "retention_days": 1},
    },
)

dataset = datasets_api.create_dataset_api_v1_datasets_post(dataset_request)
dataset_id = dataset.id
print(f"Created dataset: {dataset_id}")
Pipeline configuration is a separate step. See Configure a Pipeline for details on programmatic pipeline setup.
Step 3: Create Entries and Upload Files
from pathlib import Path
from data_api_client.models.entry_create_request import EntryCreateRequest

def upload_document(pdf_path: Path, dataset_id: int) -> int:
    """Create an entry and upload a file. Returns the entry ID."""
    # Create entry
    request = EntryCreateRequest(
        dataset_id=dataset_id,
        name=pdf_path.stem,
        slug=pdf_path.stem.lower()[:40],
        description="Uploaded via SDK",
        metadata={"source": "sdk-upload"},
    )
    response = entries_api.create_entry_api_v1_entries_post(request)
    entry_id = response.entry.id

    # Upload file
    with open(pdf_path, "rb") as f:
        file_bytes = f.read()
    entries_api.upload_file_to_entry_api_v1_entries_entry_id_upload_post(
        entry_id=entry_id,
        file=(pdf_path.name, file_bytes),
        file_type="original",
    )

    return entry_id

# Upload all PDFs in a directory
pdf_dir = Path("./documents")
entry_ids = []
for pdf_file in pdf_dir.glob("*.pdf"):
    entry_id = upload_document(pdf_file, dataset_id)
    entry_ids.append(entry_id)
    print(f"Uploaded {pdf_file.name} → entry {entry_id}")
Step 4: Trigger Pipelines
If your dataset uses manual triggering (not auto-trigger on upload), trigger each entry's pipeline explicitly:
for entry_id in entry_ids:
    result = entries_api.trigger_pipeline_api_v1_entries_entry_id_trigger_pipeline_post(
        entry_id=entry_id
    )
    workflow_name = result.get("workflow_name")
    print(f"Entry {entry_id} → pipeline {workflow_name}")
Step 5: Monitor Processing
Poll entry statuses until all entries are processed:
import time

def wait_for_processing(entry_ids: list[int], timeout: int = 1800):
    """Poll until all entries are processed or timeout."""
    start = time.time()
    while time.time() - start < timeout:
        statuses = {}
        for eid in entry_ids:
            entry = entries_api.get_entry_api_v1_entries_entry_id_get(eid)
            statuses[eid] = str(entry.status).split(".")[-1].upper()

        processed = sum(1 for s in statuses.values() if s == "PROCESSED")
        failed = sum(1 for s in statuses.values() if s == "FAILED")
        print(f"Processed: {processed}, Failed: {failed}, Total: {len(entry_ids)}")

        if processed + failed == len(entry_ids):
            return statuses
        time.sleep(10)

    raise TimeoutError(f"Processing did not complete within {timeout}s")

statuses = wait_for_processing(entry_ids)
Step 6: Validate with Search
from data_api_client.models.keyword_search_request import KeywordSearchRequest
from data_api_client.models.vector_search_request import VectorSearchRequest

# Keyword search
kw_request = KeywordSearchRequest(
    query="your search term",
    dataset_ids=[dataset_id],
    limit=10,
)
kw_results = search_api.keyword_search_api_v1_search_post(kw_request)
print(f"Keyword search: {kw_results.total} results")

# Vector (semantic) search
vec_request = VectorSearchRequest(
    query="semantic query about your documents",
    dataset_ids=[dataset_id],
    limit=5,
)
vec_results = search_api.vector_search_chunks_api_v1_vector_chunks_post(vec_request)
print(f"Vector search: {len(vec_results.results)} chunks")
Entry Lifecycle
Every uploaded file follows this lifecycle:
| Status | Meaning |
|---|---|
| Uploaded | File received, SHA256 verified, stored in the data cluster. Waiting for pipeline. |
| Processing | Pipeline is running. Stages execute in order: OCR, figure linking, chunking, embedding, registration. |
| Processed | All stages completed. Content indexed in Meilisearch (keyword search) and Qdrant (semantic search). |
| Failed | A pipeline stage encountered an error. Check the error details on the entry detail page. |
What Happens During Processing
The upload and processing flow from end to end:
When a file enters the pipeline, the following stages execute in order:
- OCR / Text Extraction — Extracts text and images from the uploaded file.
- Figure Linking — Resolves figure references in the extracted markdown and converts images to standard format.
- Chunking — Splits the text into semantic chunks based on headings and token limits.
- Embedding — Generates vector embeddings for each chunk using the configured embedding provider.
- Registration — Stores processed content, indexes it for keyword search, and upserts embeddings for semantic search.
For a detailed breakdown of each stage, see Pipelines.
Checking Processing Status
Via the Web Interface
The dataset detail page shows a status badge next to each entry. Click an entry to see its full processing history, including timestamps for each pipeline stage.
Via the API
# Check entry status
entry = entries_api.get_entry(id=entry_id)
print(f"Status: {entry.status}")
const entry = await entriesApi.getEntry({ id: entryId });
console.log(`Status: ${entry.status}`);
Batch Status Check
To check the status of many entries at once:
# Batch get entries with status
response = entries_api.batch_get_entries(
    dataset_id=1,
    limit=50
)
for entry in response.entries:
    print(f"{entry.name}: {entry.status}")
Troubleshooting
Upload Fails Immediately
- File too large — The maximum upload size is 100 MB per file. Check that your file does not exceed this limit.
- Unsupported format — Verify the file type is supported by your dataset's pipeline preset.
- Cluster offline — The data cluster must be in an active state. Check the cluster status in the Clusters section.
Entry Stuck in "Processing"
- Pipeline stages run as background jobs. If an entry remains in "Processing" for an extended period, it may indicate a transient infrastructure issue.
- Check the entry detail page for error messages on individual pipeline stages.
- Contact support if the issue persists.
Entry Shows "Failed"
- Open the entry detail page to see which pipeline stage failed and the error message.
- Common causes include corrupted files, unsupported PDF features, or temporary API outages from the embedding provider.
- You can re-upload the file to retry processing.
- Please contact us for help debugging failed entries.
Next Steps
- Configure a Pipeline — Adjust pipeline settings and understand presets
- Search and Query — Search across your processed documents
- AI Agent Integration — Connect AI agents to your document collection