Create a Data Plane
A data plane is the infrastructure layer that hosts one or more data clusters. It provides shared databases, storage, vector search, and networking that individual clusters draw from.
For Alien Hosted deployments, your data plane is pre-configured and managed by Alien. You do not need to follow this guide. If you need changes to your data plane configuration, contact us at contact@alien.club.
This guide is primarily for on-premise enterprise customers who deploy data clusters on their own Kubernetes infrastructure.
Prerequisites
Before creating a data plane, ensure you have:
- An Enterprise organization account (required for custom data planes)
- A Kubernetes cluster (v1.25+) with sufficient capacity for the shared infrastructure
- kubectl access to the target cluster
- Helm v3 installed
- Familiarity with Kubernetes operations (namespaces, deployments, secrets)
Step 1: Create the Data Plane in the UI
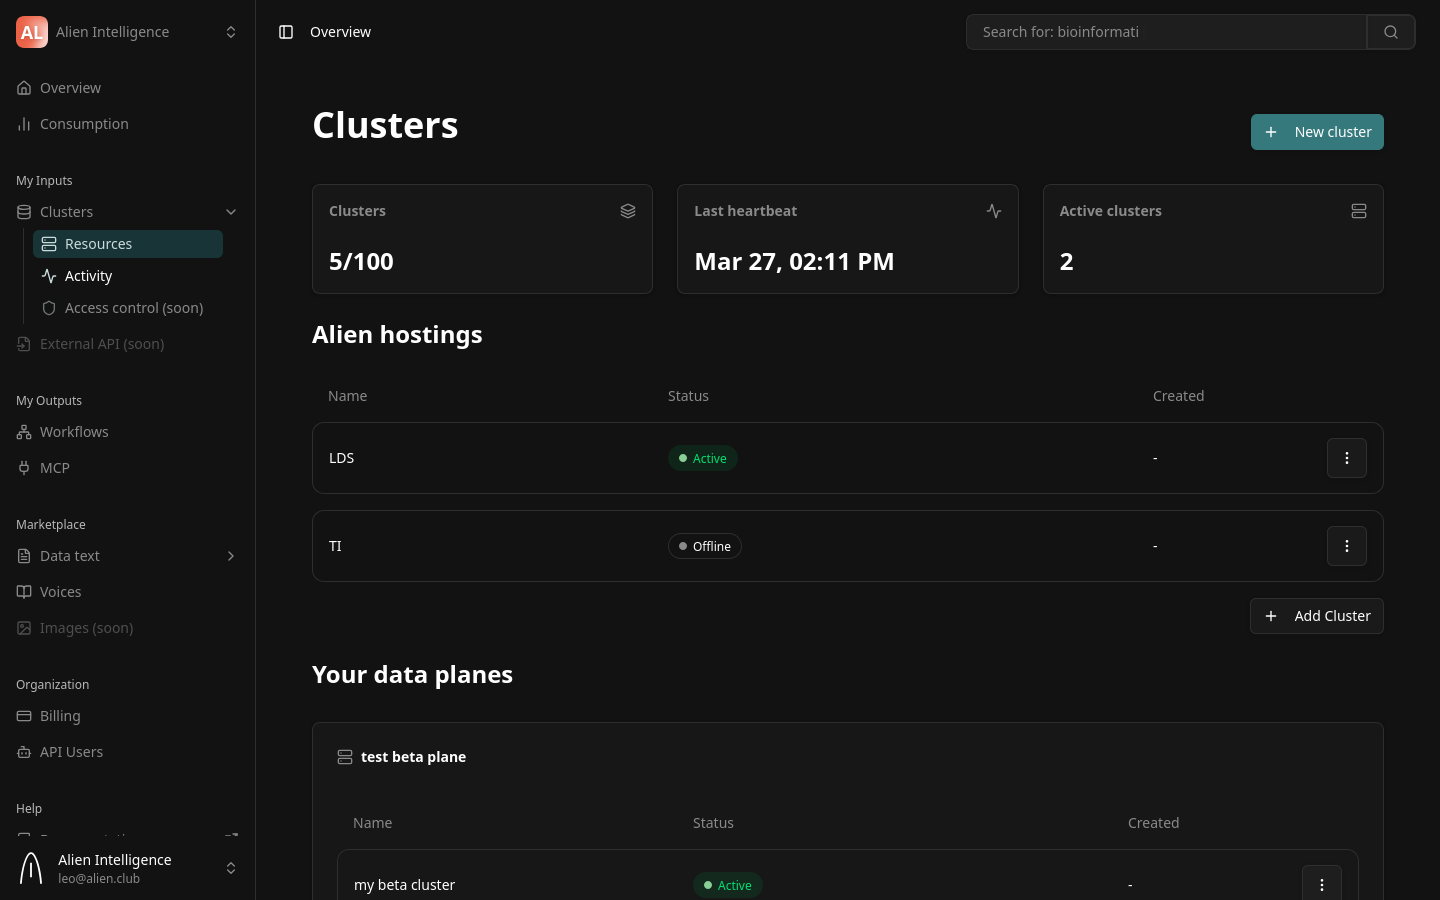
- Navigate to Clusters in the sidebar, then open Resources.
- If you have enterprise access, click Add Data Plane in the top-right area.
- Fill in the registration form:
| Field | Description | Example |
|---|---|---|
| Data Plane Name | A descriptive name for this infrastructure group | Production EU-West |
| Provider | The cloud or infrastructure provider | Scaleway, AWS EKS, GCP GKE, Azure AKS, On-Premise |
| Region | (Optional) The geographic region | eu-west-1 |
| Maximum Clusters | The maximum number of data clusters this plane can host | 100 |
-
Click Create Data Plane.
-
The platform generates an installation command containing a one-time registration token. You have two options:
- Copy the command — Click the copy button to copy the full
curlcommand to your clipboard. - Download the script — Download the installation script and run it manually with your token.
- Copy the command — Click the copy button to copy the full
The registration token is displayed only once. If you lose it, you can regenerate it from the data plane settings, but the old token becomes invalid.
Step 2: Run the Installation Command
On the target machine or Kubernetes cluster, paste and run the installation command:
curl -sL https://get.alien.club/dataplane/install.sh | bash -s -- --token "dpk_reg_..." --yes
The script automatically handles everything:
- Validates prerequisites (kubectl, Helm, cluster connectivity)
- Installs ArgoCD if not already present
- Deploys the complete data plane infrastructure (PostgreSQL, MinIO, Qdrant, Meilisearch, Argo Workflows, Istio)
- Deploys the DataCluster Operator
- Registers the data plane with the platform using the provided token
- Establishes the Skupper mTLS tunnel for secure communication
The installation follows a strict dependency ordering via ArgoCD sync waves — each component is deployed in the correct sequence automatically.
The entire installation is managed through ArgoCD using the App of Apps pattern. After the initial install, all updates and configuration changes are delivered through GitOps automatically.
Step 3: Verify Connectivity
After the installation completes, the operator registers with the platform and begins sending heartbeats. You can verify the connection from the UI:
- Navigate to Clusters > Resources in the sidebar.
- Your new data plane should appear in the list with a status indicator.
- The status transitions through these states:
| Status | Meaning |
|---|---|
| Pending | Data plane created, waiting for operator to connect |
| Active | Operator is connected and sending heartbeats |
From the command line, you can also verify:
# Check operator logs for successful registration
kubectl logs -n data-cluster-operator deployment/data-cluster-operator --tail=50
Look for log messages indicating successful registration and heartbeat.
Configuring Infrastructure
For advanced configuration of the shared infrastructure (database sizing, storage capacity, vector database resources), contact Alien support. Infrastructure sizing changes are applied through the operator and rolled out via ArgoCD without downtime.
What Happens Behind the Scenes
When you create a data plane and deploy the operator, the following occurs automatically:
- The platform generates a registration token and (optionally) a Skupper access grant for networking.
- The operator exchanges the registration token for a permanent service API key.
- The operator redeems the Skupper access grant to establish an mTLS tunnel.
- The operator creates a
DataPlanecustom resource on the Kubernetes cluster. - Heartbeats begin flowing every 60 seconds, reporting health and metrics.
- The data plane transitions to Active status.
The operator then waits for data cluster creation requests, which it handles through its automated provisioning sequence.
Next Steps
- Create a Data Cluster — Create your first isolated data cluster on this data plane
- Data Planes (Concept) — Understand the data plane architecture in depth
- Security Model — Learn about the authentication and encryption between platform and data planes